by Rachel Wells
It’s officially October – and pumpkins are one of the first things we think about when it comes to fall! They make for such a fun theme when it comes to crafts, experiments, or even games. Check out these super fun pumpkin activities that will help you enjoy this autumn staple together.
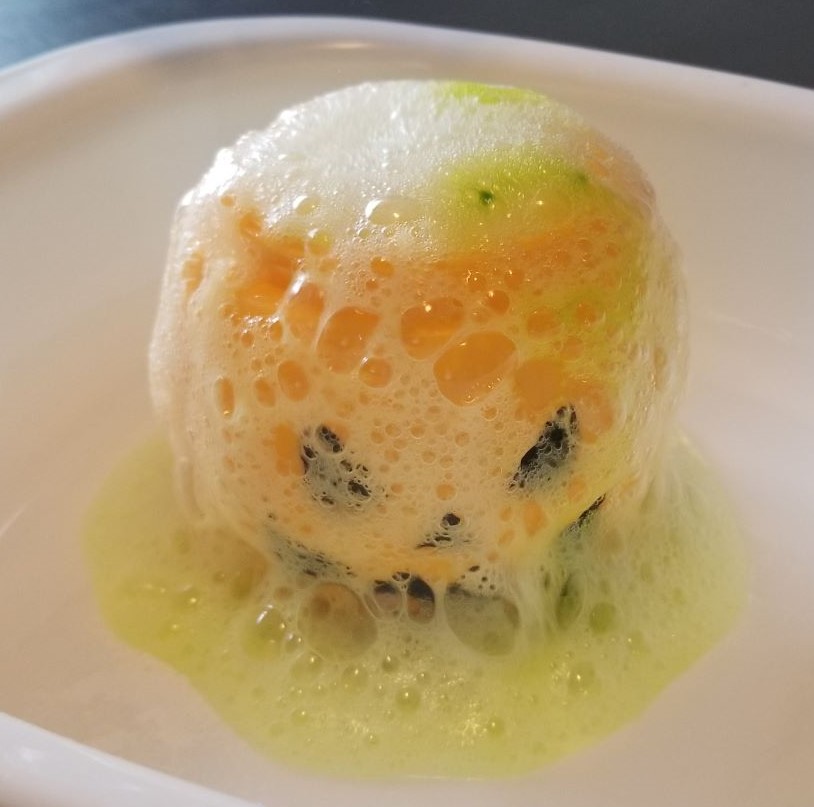
Pumpkin Eruption
Supplies:
- Baking soda
- Vinegar
- Pumpkin
- Carving tool
- Dish soap
Step-by-Step:
- Cut off the top of the pumpkin and take out the seeds.
- Carve a face into your pumpkin.
- Add a few scoops of baking soda into the bottom of the pumpkin and a little bit of dish soap.
- When you’re ready, pour vinegar into the pumpkin and watch it erupt out of the pumpkins face or head!
- Your child will definitely want to continue until you run out of vinegar and baking soda!
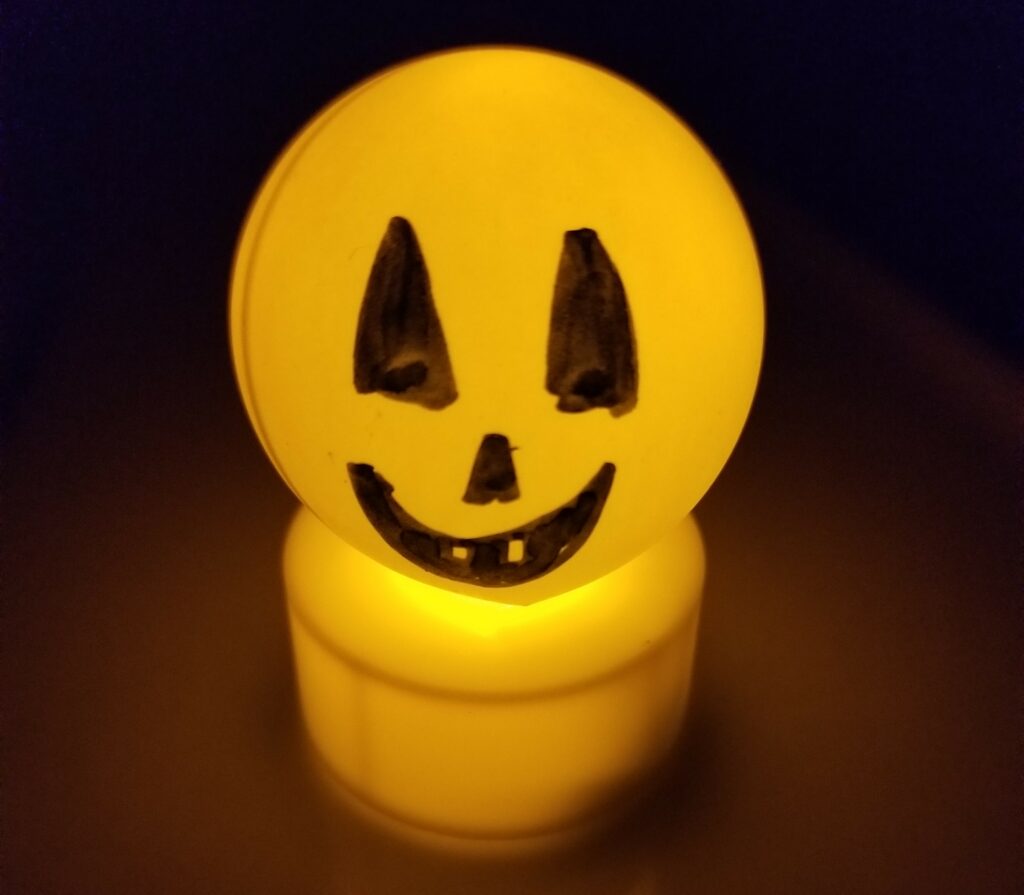
Mini Pumpkin Lights
Supplies:
- Ping pong balls
- Mini battery-operated tea light candles
- Sharpie
- Scissors
Step-by-Step:
- Have an adult cut a small X shaped slit on the bottom of the ping pong ball.
- Use sharpie to draw a pumpkin face on the ping pong ball.
- Stick the slit of the ping pong ball over the flame part of the mini tea light candle. Turn off the lights and turn on the candle to make your pumpkin glow.
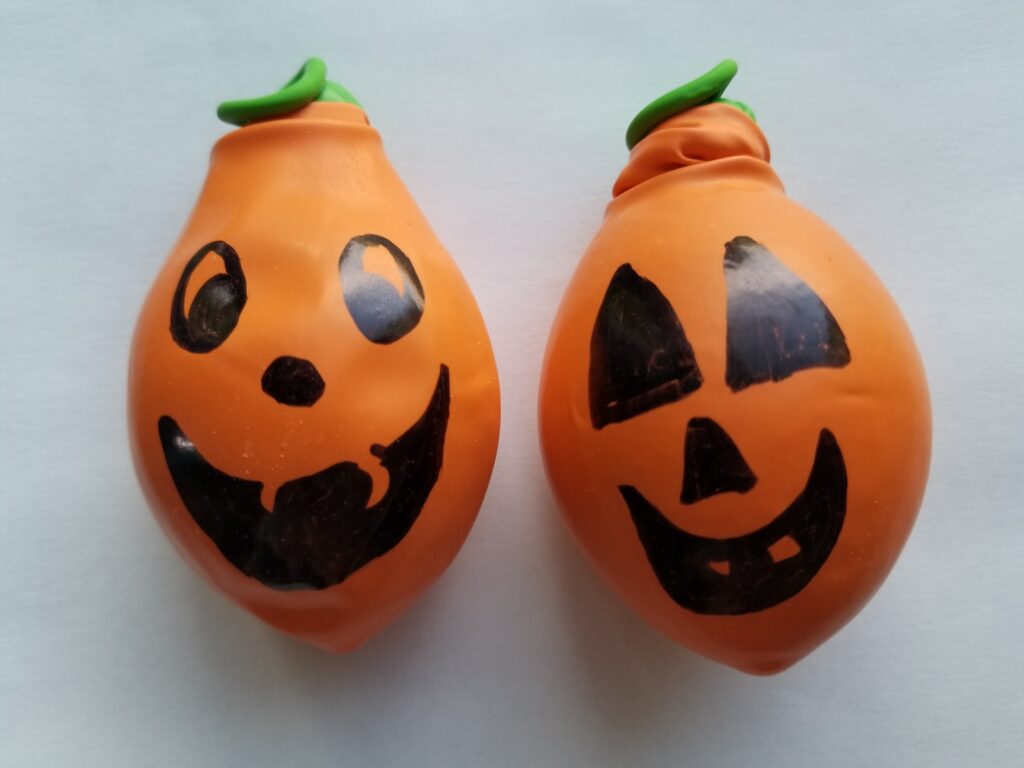
Pumpkin Stress Balls
Version #1 Supplies:
- Orange and green balloons
- Flour
- Spoon
- Sharpie
- Funnel (optional)
- Scissors
Version #1 Step-by-Step:
- Use a spoon to fill a green balloon with flour. If needed you can use a funnel to help get the flour into the balloon.
- Tie the balloon closed.
- Cut the tip of the orange balloon off and stretch it around the green balloon filled with flour.
- Use sharpie marker to draw a pumpkin face.
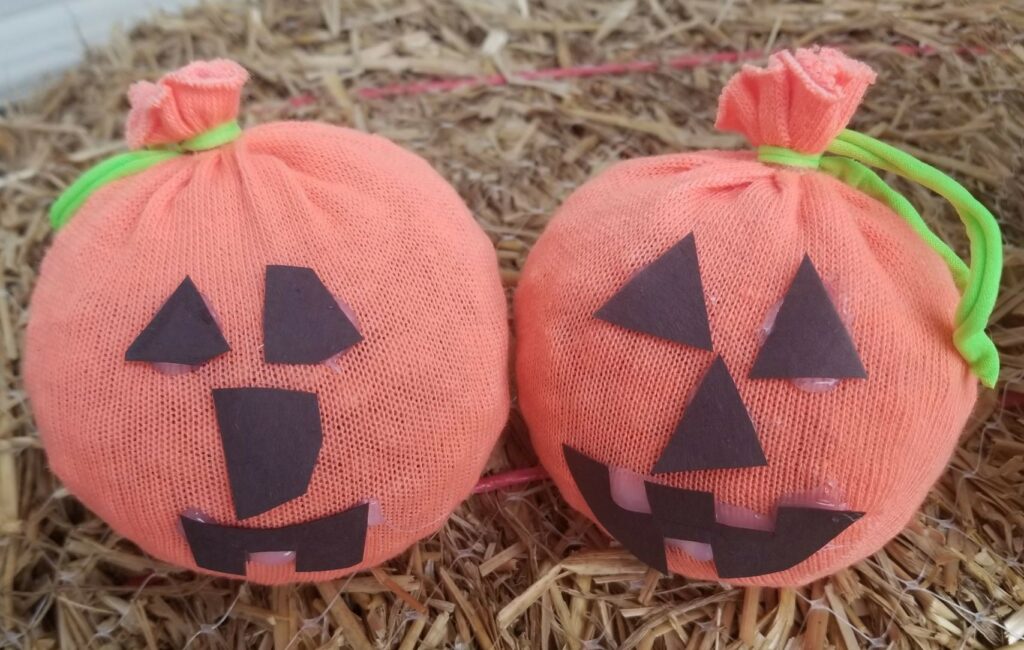
Version #2 Supplies:
- Orange sock
- Dry beans
- Hot glue
- Black construction paper
- Scissors
- Green ribbon or string
Version #2 Step-by-Step:
- Fill the sock with dry beans.
- When the sock is filled to the desired size, tie it shut with the green ribbon. Cut off any excess sock.
- Cut your pumpkins facial features out from a piece of black construction paper.
- Use hot glue to quickly attach the face pieces to your pumpkin.
Pumpkin Crystals
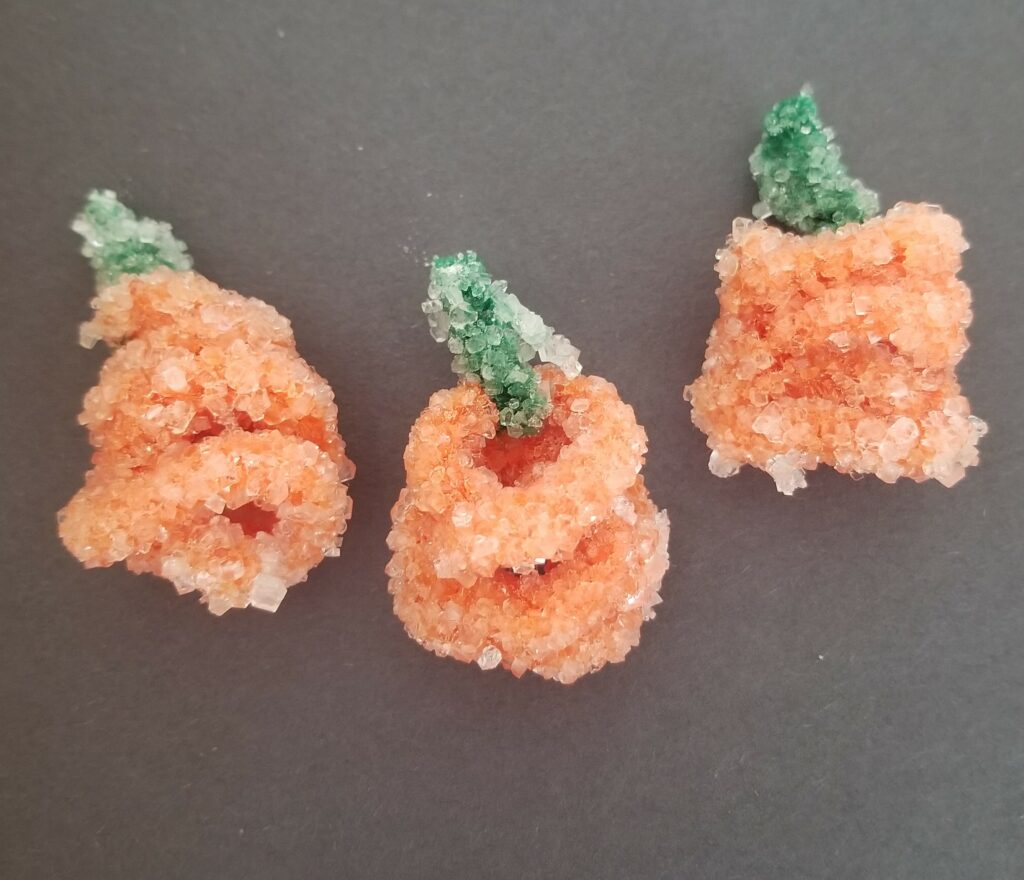
Supplies:
- Glass jar
- Borax
- Boiling water
- String
- Orange and green pipe cleaners
- Pencil/pen/wooden craft stick
Step-by-Step:
- Bend your pipe cleaners into your desired shape. We chose a curly orange bottom with a small green stem on top.
- Tie a piece of string onto your pipe cleaner stem and tie the other end of the string to the center of the pencil. Set aside.
- Boil 2 cups of water and stir 8 tablespoons of borax in until it dissolves.
- Fill your jar with the borax solution.
- Place your pipe cleaner into the jar. The pencil should stay on the top of the jar to keep the pipe cleaner suspended in the borax mixture. Make sure the pipe cleaner isn’t touching the sides of the jar.
- Leave the jar for at least 24 hours so the crystals can grow. When you are ready to remove the crystal, gently tug the string out of the jar.
Pumpkin Ring Toss
Supplies:
- Pumpkins with long stems
- Glow stick bracelets
Step-by-Step:
- Place the pumpkins around your playing area.
- Mark a spot for students to stand and have them try toss the glow stick bracelets onto the stems.
- For a fun twist you can assign point values to the pumpkins and play for a high score!